What Is Hard Pan and Why Does It Form?
Hard pan is a compacted layer of soil or sub-base material that resists penetration. It forms in two main ways:
Natural hard pan develops below the topsoil when fine clay particles, calcium, and iron minerals bind tightly together, often becoming nearly impervious to water infiltration. High clay content is the primary driver because clay particles pack so densely that drainage stops.
Manmade hard pan is the version most gravel driveway and food plot owners deal with. Repeated vehicle traffic compacts material beneath the surface layer. Repeatedly tilling or discing a food plot or garden at the same depth compounds the problem, the tillage loosens the top layer but presses a compaction layer just below the working depth with every pass. Over time, that layer becomes hard pan.
Why it matters for gravel driveways: Hard pan beneath the surface prevents gravel from keying in, which is what causes recurring potholes and washboard that return days after grading. On a food plot, it blocks root penetration and drainage. Fixing the symptom without addressing the hard pan is a cycle that never ends.
Why a Standard ATV Drag Pass Won't Break Hard Pan
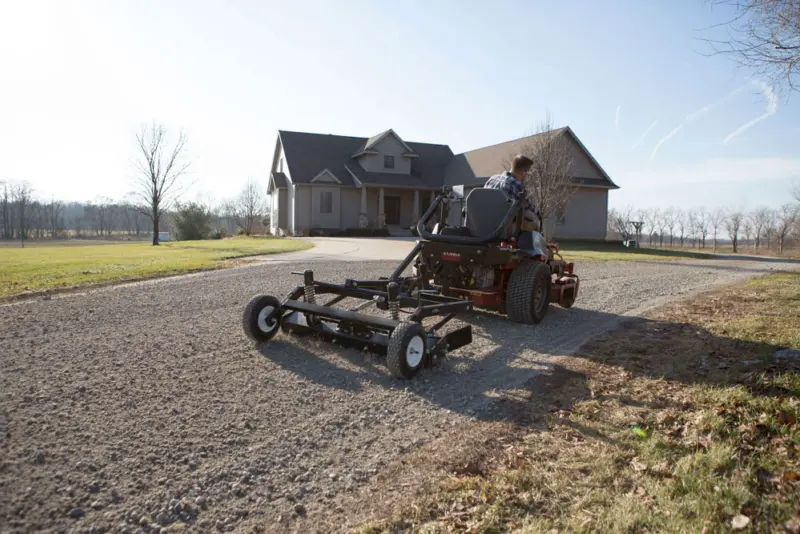
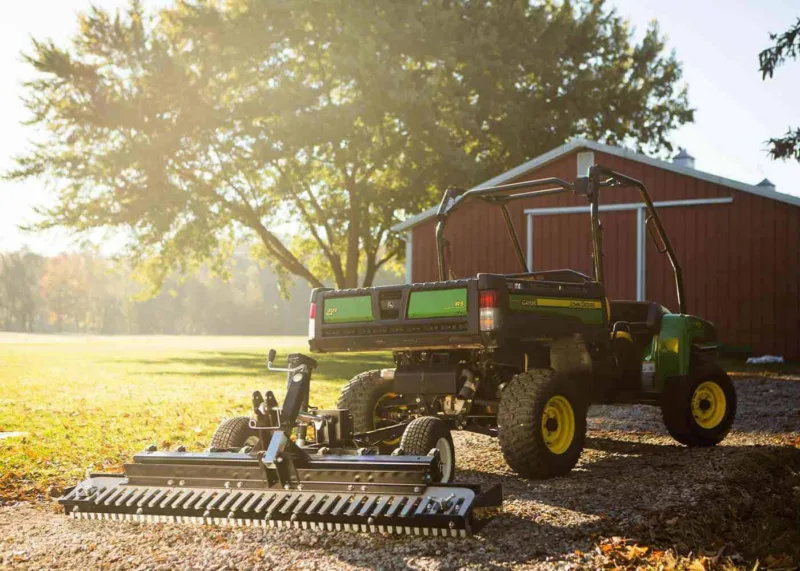
A pull-behind ATV or UTV drag works by distributing its weight across multiple scarifier contact points. That's ideal for routine maintenance, if you want even coverage. But it works against you when facing hard pan.
The physics: force per contact point = total tool weight ÷ number of active scarifiers. A 340-pound drag with 7 scarifiers delivers approximately 49 lbs per contact point. That's enough to groom loose gravel or scratch compacted soil, but not enough to fracture a locked hard pan surface.
Compare this to a three-point tractor attachment, which can apply hydraulic downforce far beyond the tool's own weight. A pull-behind drag only has gravity. You can't add hydraulic pressure, but you can concentrate what you have.
This is the nail board principle: a person lying on a board of 500 nails is unharmed, the weight spreads across every point. Reduce that to 4 nails and it penetrates. The physics of breaking hard pan with a pull-behind drag work exactly the same way.
The Two Techniques That Work
Technique 1: Remove Scarifiers to Maximize Downforce Per Contact Point
The goal: Get each active scarifier carrying enough weight to fracture the hard pan surface.
Setup on a 5.5 ft Gravel Rascal Pro (approx. 340 lbs, 7 scarifiers standard):
| Active Scarifiers | Downforce Per Point |
| 7 (standard maintenance) | ~49 lbs |
| 4 (hard pan setup) | ~85 lbs |
Removing three scarifiers nearly doubles the downforce per point, no modifications, no added weight, no new equipment. On the Gravel Rascal Pro, scarifiers pin into pockets on the tool frame and can be removed and reinstalled without tools or damage.
Complete setup for maximum penetration:
- Pull gauge tires up off the ground so they don't limit scarifier depth
- Move the finish rake out of the working zone, you're ripping, not finishing
- Plan for multiple passes, including cross-cuts at different angles
For other tool sizes or models, use the same formula: tool weight ÷ active scarifier count = downforce per point. Four to five contact points is the effective range for most full-width ATV drags on hard pan.
Technique 2: Set the Scarifier Angle for Forward Engagement
The angle at which a scarifier contacts the ground determines whether the tool's forward motion helps or fights penetration.
| Angle | Mode | Effect |
| Angled backward (trailing) | Grooming | Skims the surface, ideal for maintenance, counterproductive for hard pan |
| Perpendicular to ground | Scratching | More aggressive scratch, but forward motion tends to push the tip upward |
| Angled forward 30–40° | Cutting | The tip leads in the direction of travel; hard pan resistance pulls the tip deeper |
At 30–40 degrees forward of perpendicular, the scarifier acts like a chisel driven at an angle, forward motion and ground resistance work together to push the tip in rather than back it off. This is the position you want for hard pan.
Set the forward angle and make a short test pass. The tip should visibly be leading. If the tool is skating over the surface, check both the angle and your scarifier count.
Step-by-Step: Hard Pan Setup on an ATV or UTV Drag
- Remove all but four scarifiers (on a 340 lb / 5.5 ft tool)
- Set remaining scarifiers to approximately 30–40 degrees forward of perpendicular
- Raise gauge tires off the ground
- Remove or raise the finish rake out of the working zone
- Make the first pass at normal ATV/UTV operating speed
- Cross-cut with a second pass perpendicular to the first
- Inspect the surface, if the hard pan isn't cracking, reduce to 3 active scarifiers
- Once hard pan is adequately broken, reinstall all scarifiers, reset to normal working depth, and run a finishing pass
Hard Pan in Soil vs. Gravel: Different Solutions for the Same Problem
Gravel driveways: Scarification is your primary tool. The two techniques above reduced contact points and forward angle are the mechanical solution. Once the hard pan layer is cracked, surface gravel can key into the loosened material and hold its condition under traffic.
Food plots, gardens, and new lawn areas: Mechanical scarification helps, but hard pan in a soil context often has chemical drivers. High calcium and iron concentrations, high clay content, and high soil pH all contribute to particle binding. After mechanical breaking, have a soil test done and consult your local university extension service about amendments for your specific soil type and intended planting. Loosening without addressing the chemistry means the hard pan can reform.
Key Takeaway
Breaking hard pan with a pull-behind ATV or UTV drag is achievable with equipment you already own. The two adjustments, fewer active scarifiers to concentrate downforce and forward scarifier angle to cut rather than skim, take minutes to make and require no additional tools.
For the 5.5 ft Gravel Rascal Pro, the target hard pan setup is four active scarifiers at a 30–40 degree forward angle, gauge tires raised, finish rake out of play. Multiple passes and cross-cuts complete the job. Once the surface is cracked, put everything back to standard configuration and finish the surface.
Related Products
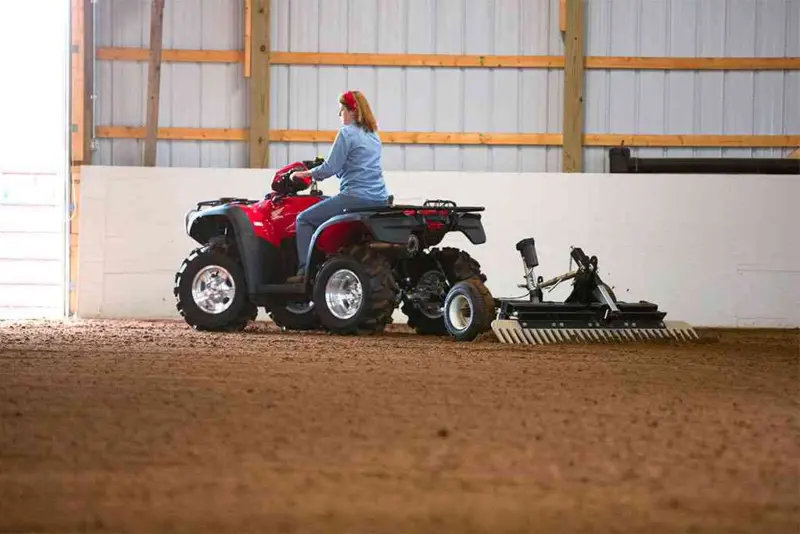
Arena Rascal® Pro
Starting at $94/mo.*For ATVs, UTVs, & Sub-Compact Tractors, #1 Selling Arena Drag